NEW
Annotated videos
The course has been brought current: every video now carries on-screen annotations that flag what today's Blender does differently, and every lesson ships with a written document for deeper exploration. Underneath is the same thing 1,000+ designers bought it for — hard-surface modeling with Blender's own modifiers, so your models stay editable at every stage, at any resolution.
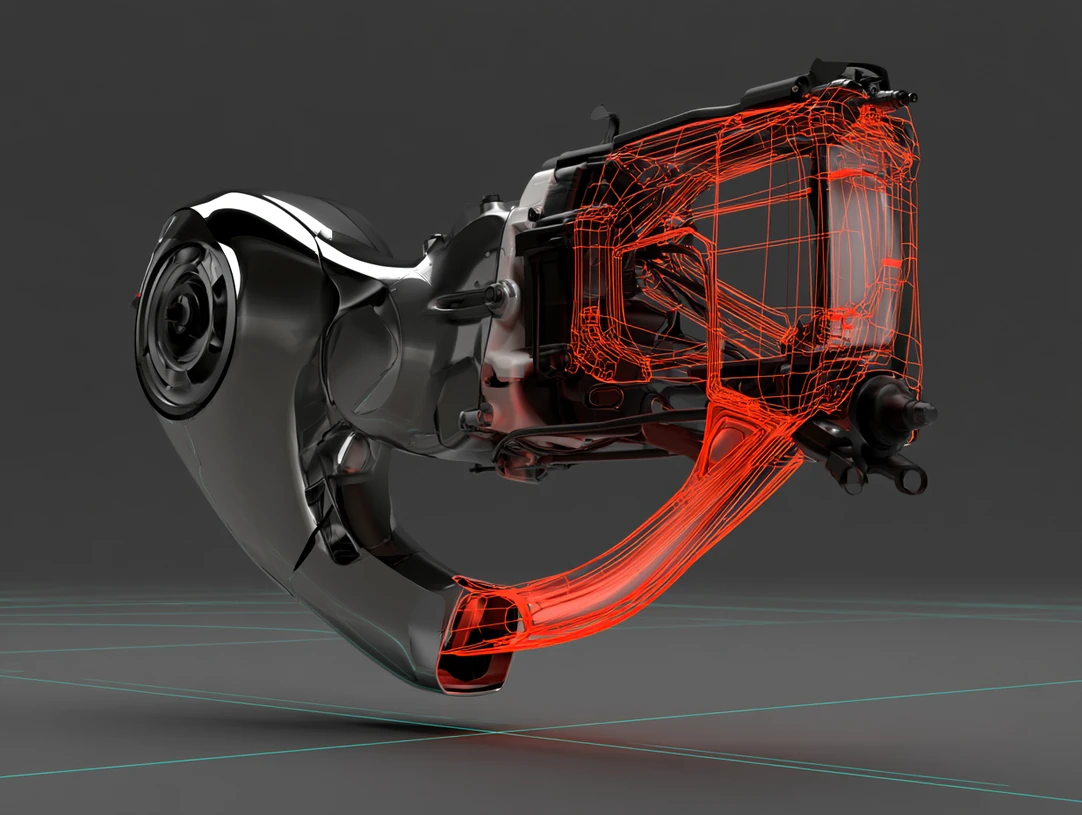 // nitrox3d.editable
Most courses of this age quietly rot as the software moves on. This one was updated instead — twice over, in the video and on the page.
Every lesson now carries on-screen annotations that flag exactly where today's Blender differs from the recording — a control that moved, a modifier that changed, a step that got easier. You are told as you watch, so nothing has to be guessed or translated.
Each tutorial video also ships as a full written document covering the same build. Work at your own pace, go deeper than the video does, and search back later for the one step you need instead of scrubbing footage.
Most modeling tutorials teach you to make one object; NITROX3D teaches a workflow — so every model you build stays open to change until the design is just right.
The introduction and early lessons are free on YouTube. Watch before you spend a cent.
// nitrox3d — introduction (free on youtube)
NITROX3D (Non-destructive Iterative Techniques for Rapid Object eXploration in 3D) is a video course in non-destructive hard-surface modeling. It is not an add-on. Every technique runs on Blender's native modifier stack, so nothing needs installing, nothing needs updating, and the modeling strategies stay valid across Blender versions — even though the modifier UI has moved on since the recordings (see the FAQ).
An honest boundary, stated up front: NITROX3D can't model everything. Cars and characters are out. Products, hard-surface props, and ArchViz elements — a surprising range of them — are exactly what it's for.
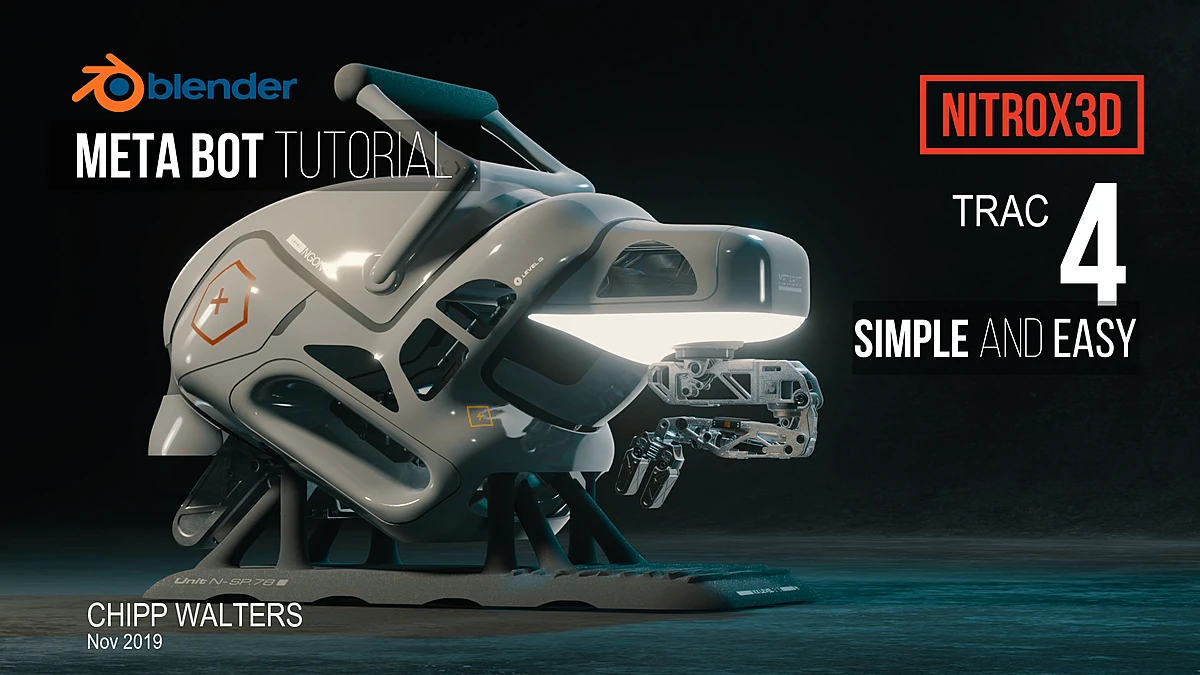 // nitrox3d.origin — the meta bot
Chipp Walters is an industrial designer who spent years inside CAD systems where every model is parametric — change a number, the design updates. Polygon modeling threw that away: one wrong committed bevel and you rebuild. NITROX3D is his answer, worked out in Blender's own modifier stack and shared publicly in 2019 — first as free lessons (the introduction alone has been watched over 100,000 times), then grown into a full course. Launched with 10 videos; later doubled to 20 across 4 tracks.
“To learn a professional workflow is precisely the hardest thing to do for an autodidact.”
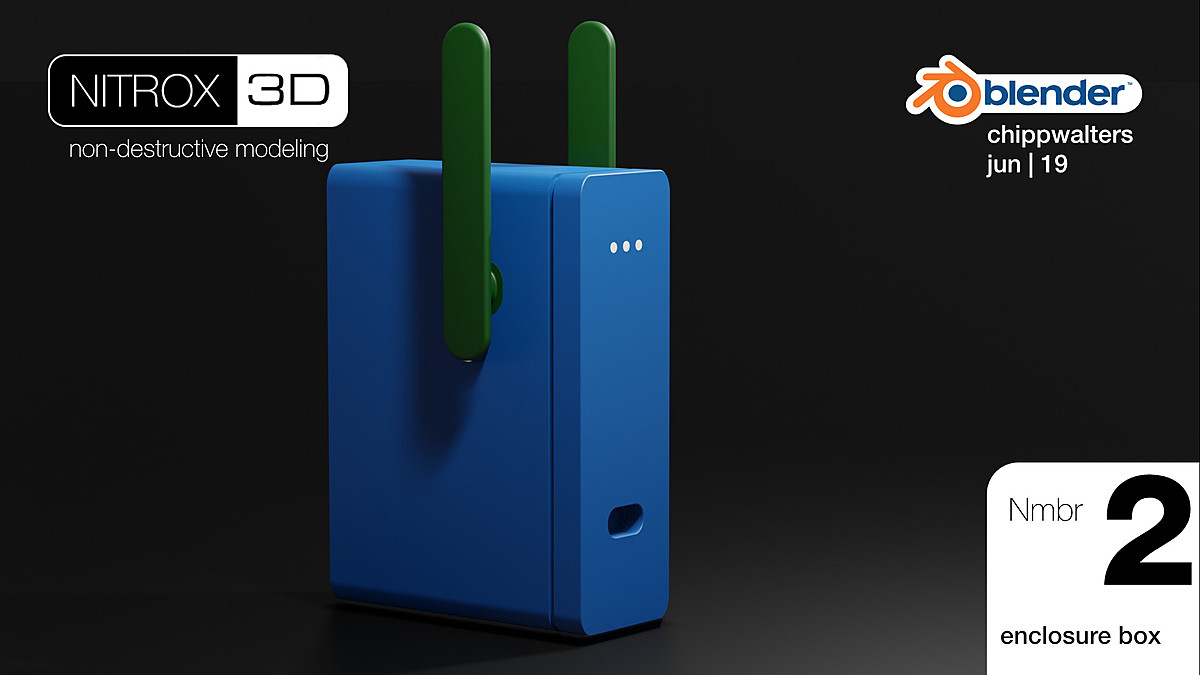
Start with almost nothing — one lesson builds a finished enclosure from a simple box — and let Bevel, Solidify, Mirror, Subdivision, and friends do the forming. The base mesh stays tiny and editable.
The modifier stack is the design history. Nothing is applied until the very end, so every decision stays reversible — resolution included.
Each track models a real object and explains the why behind every modifier choice, step by step.
The last track carries a model through decals, materials, mesh consolidation, lighting, and a final EEVEE render with post effects.
230+ minutes, grouped by track — each one builds on the last. Updated now with docs and videos compatible with Blender 5+.
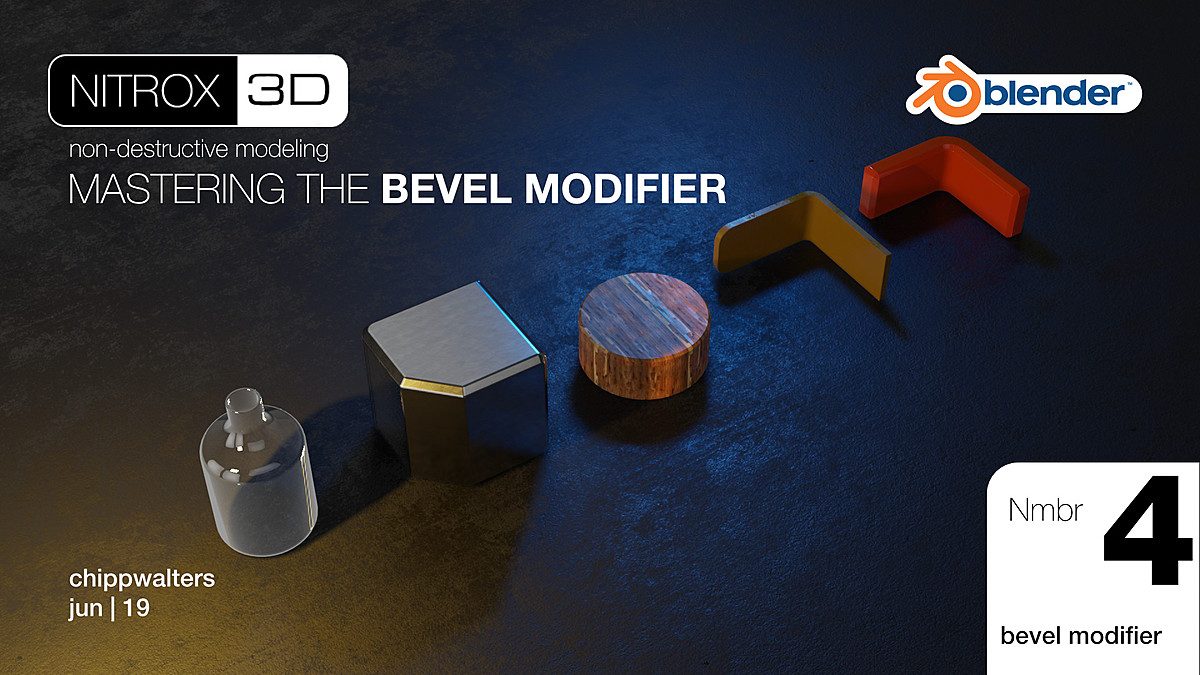
What non-destructive modeling is and why it matters, the enclosure box, a startup scene tuned for modifier work, and a deep dive on mastering the Bevel modifier.
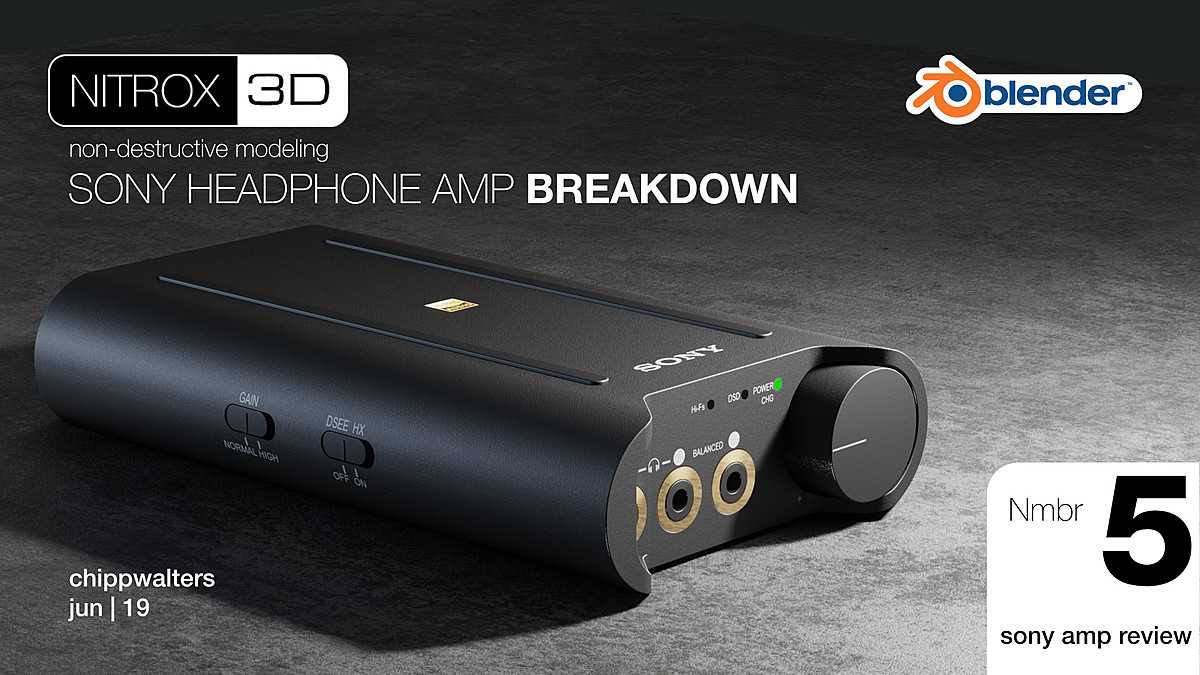
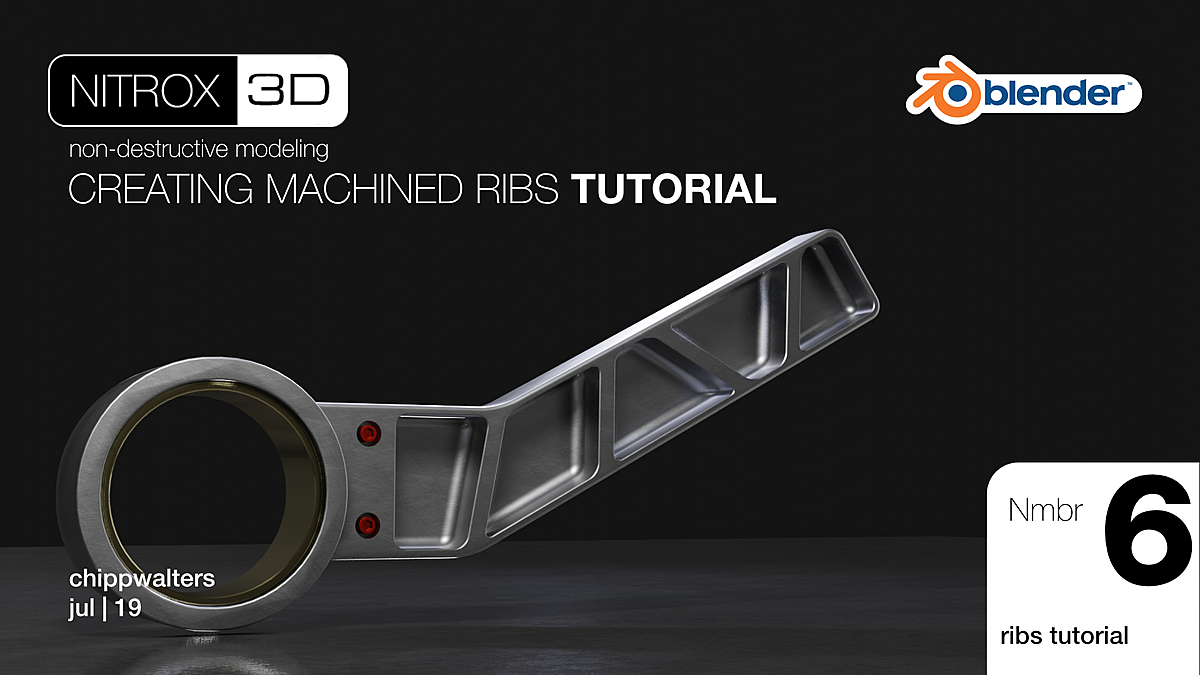
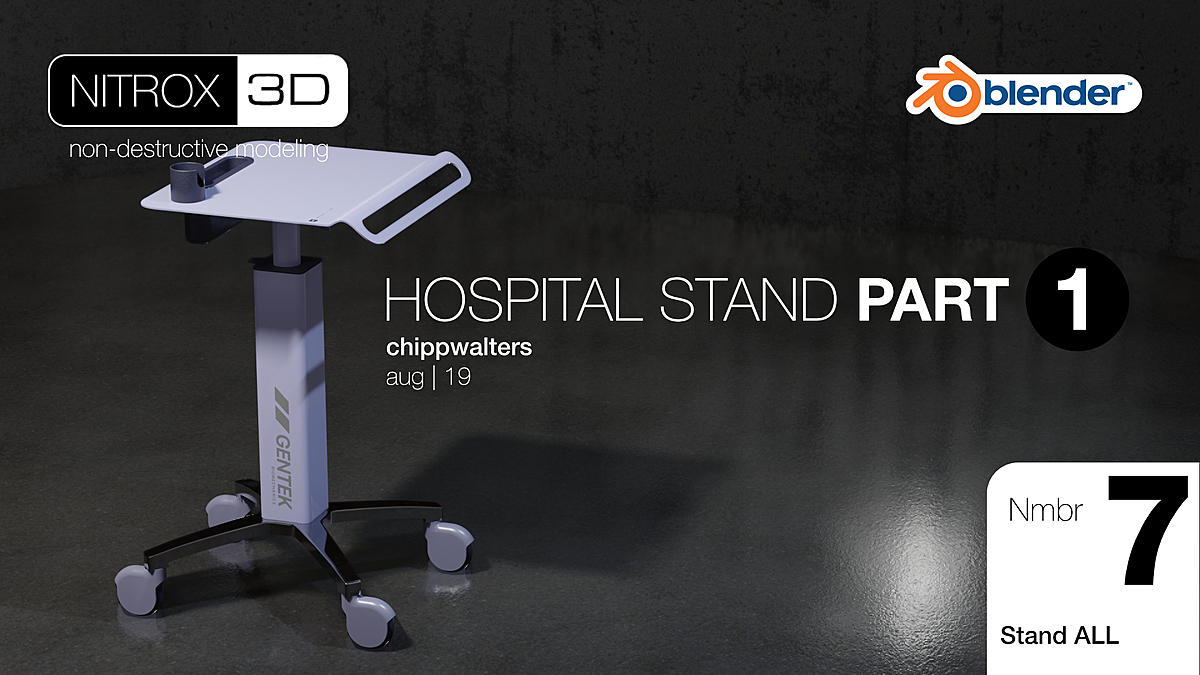
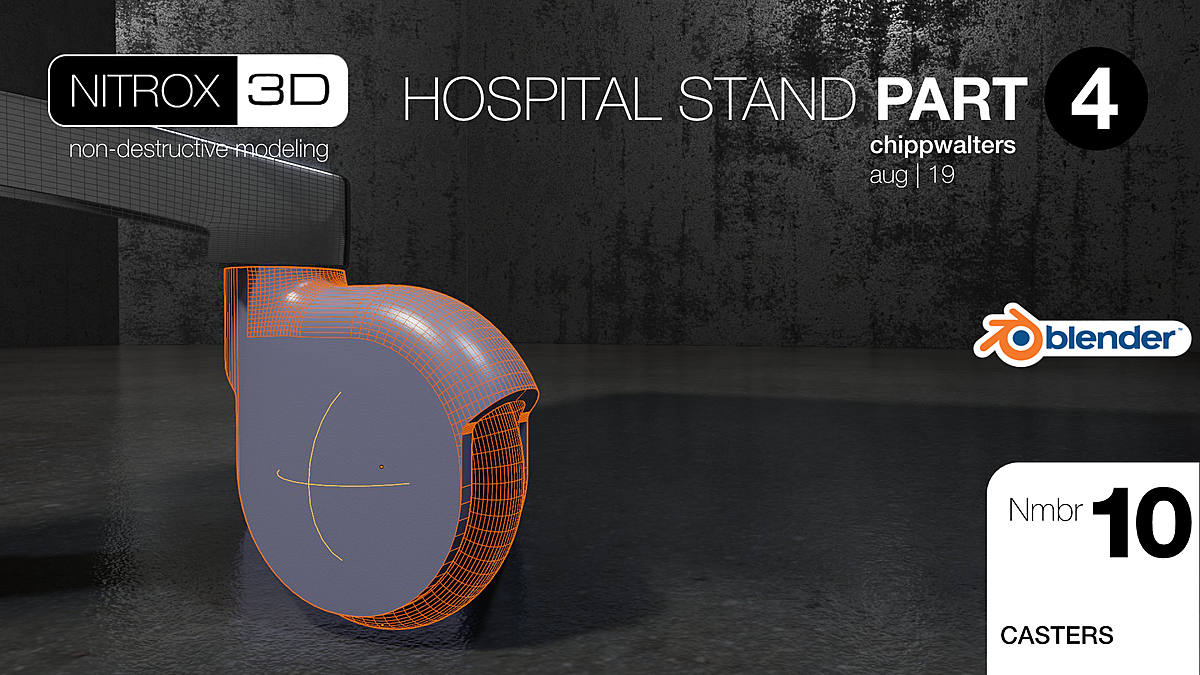
The Sony headphone-amp breakdown, machined ribs for die-cast and injection-molded parts, and the four-part hospital stand — stamped tray, complex base, casters and housings.
Fully editable pipes and cables, then the Meta Bot: metaballs and meta elements, remeshers, shelling, handle and claw. (Some lessons here use KIT OPS and optional remeshers — see the FAQ.)
Decals on non-UV-mapped surfaces, materials, consolidating to mesh, and the final lit, composited render.
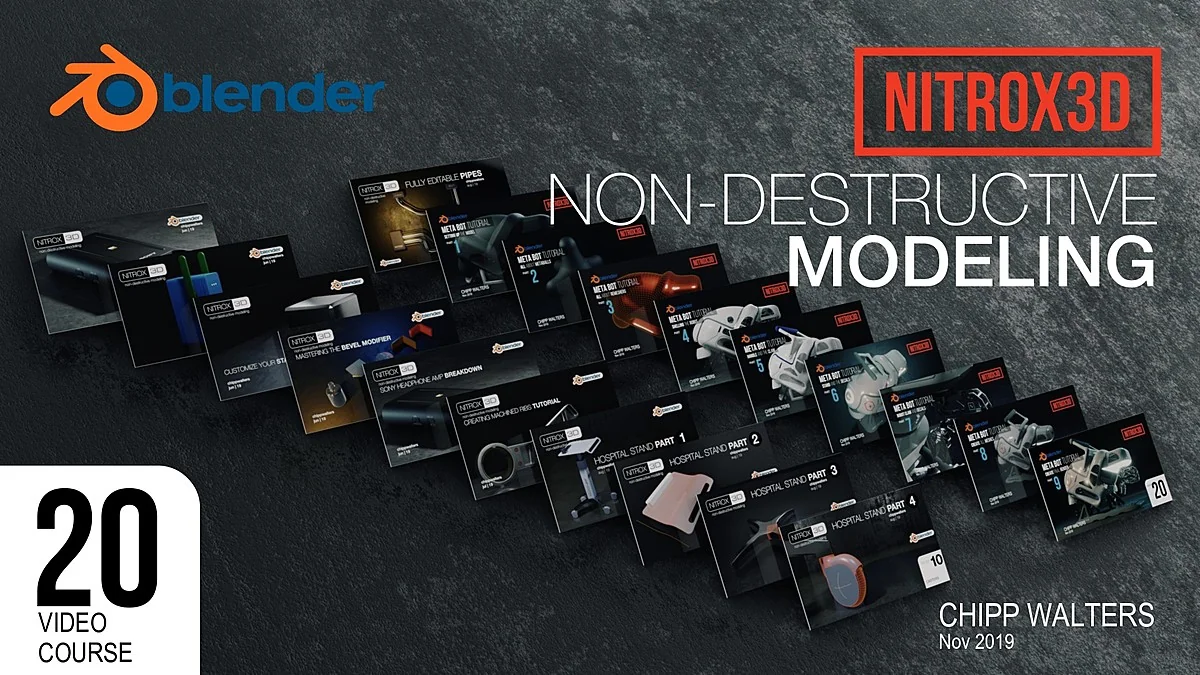
// the full course — 20 videos, laid out lesson by lesson
On-screen annotations through every lesson flag what today's Blender does differently — nothing left for you to translate.
Twenty written documents covering the same builds — for deeper exploration, your own pace, and searching back later.
Everything runs on stock Blender modifiers. No add-on to buy; the course's knowledge doesn't expire with an API change.
Continuously editable hard-surface models at any resolution — revise proportions, bevels, and details late in the game.
An enclosure, a headphone amp, machined ribs, a hospital stand, a robot — each broken down modifier by modifier.
Each video typically carries over 100 edits so no minute is wasted. 230+ minutes that respect your time.
Every source .blend, plus textures and lighting rigs, so you can open any lesson's result and take it apart.
All videos in 1080p and 720p, available both ways.
The introduction and early lessons are free on YouTube — over 100,000 designers have watched the intro.
“Have always missed a non-destructive workflow in Blender, but this really help getting there.”
“The pacing is not too fast neither too slow.”
“It all makes sense and is easy to apply to projects. It's complimentary to kitops.”
“It breaks down each individual model on how it was made step by step.”
Yes. The lessons were originally recorded in Blender 2.82, and rather than leave you to translate the differences, the videos have been updated with on-screen annotations that bring them current — where a control moved or a modifier changed, the video says so as you watch. Every lesson also ships as a written document covering the same build. The modifier strategies themselves were always version-proof; the annotations and docs close the gap on the UI.
Every tutorial video has a companion document covering the same build in writing. They're made for deeper exploration — working at your own pace, studying a step the video moves past quickly, or searching back later for the one detail you need without scrubbing through footage.
No. NITROX3D is a course that teaches a workflow. There is nothing to install.
Tracks 1 and 2 use stock Blender only. Some Track 3 Meta Bot lessons use KIT OPS (a free version exists) and discuss both built-in and commercial remeshers.
Cars and characters — organic, sculpted forms are the wrong fit. Products, props, and ArchViz elements are the sweet spot.
You should know Blender's basics; the course teaches the workflow step by step from there. Reviewers call it a strong introduction to non-destructive modeling.
The course is backed by the same person who made it. Questions get answered on the public NITROX3D thread at BlenderArtists — running since 2019 — or through CHIPPWALTERS support.
Newly updated with annotated videos and a written doc for every lesson — the non-destructive workflow 1,000+ designers already model with.